
 Polski


 Contact
 ul. Słowackiego 8
 sklep@katemedia.pl
 +48 570 025 000






There are no more items in your cart
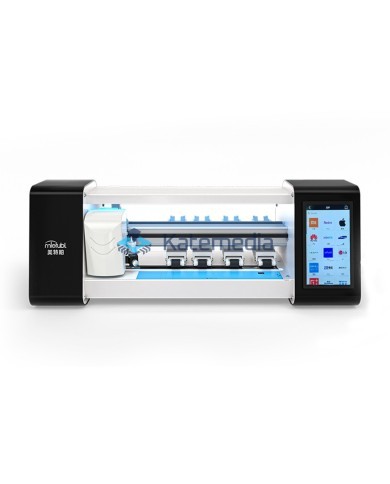
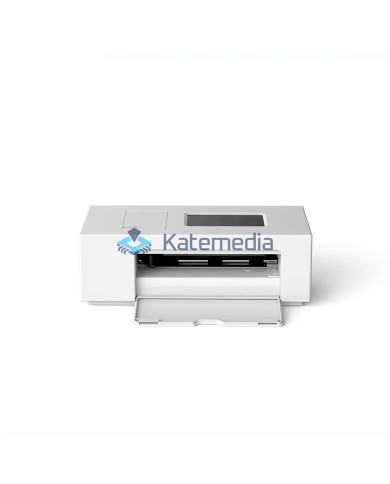
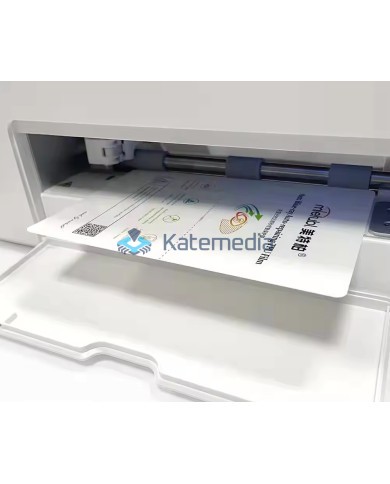
Printer for protective films for the back of the phone from your own photo Mietubl
Printer for protective films for the back of the phone from your own photo Mietubl
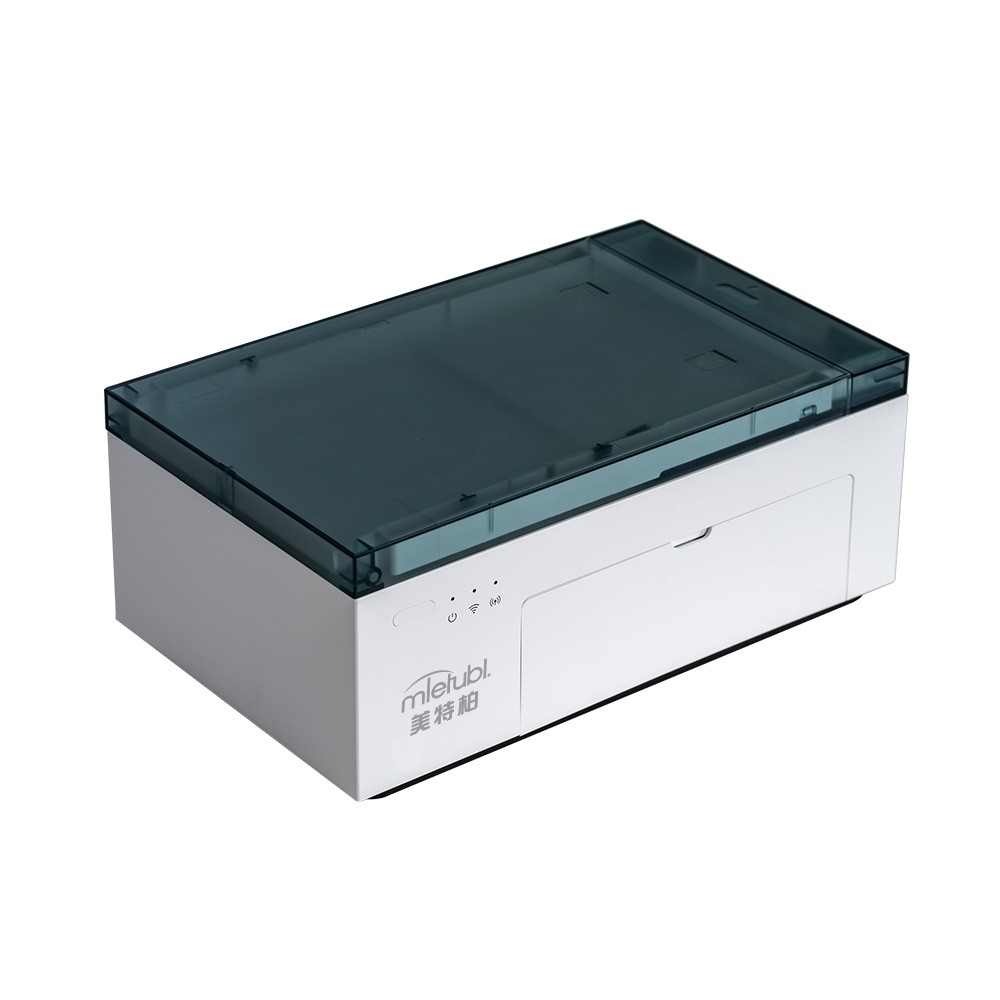
Mietubl DIY – a printer for creating custom protective back skins for phones using your own photos
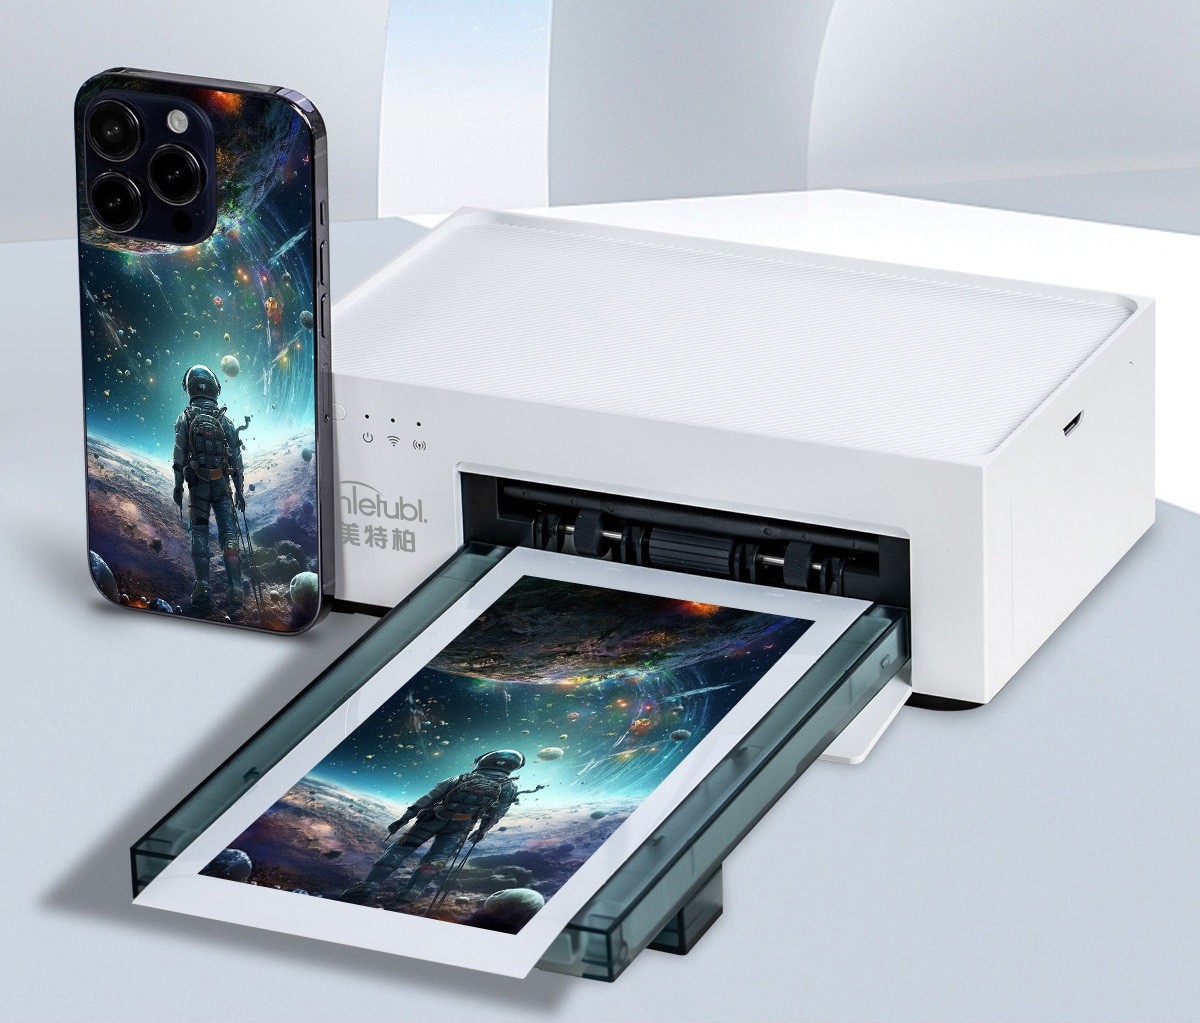
The Mietubl DIY mini printer allows you to create protective back skins for phones featuring any photo, graphic, or image. The process is intuitive and simple—it only takes a few taps on your phone.
Now, anyone can have a unique phone back that reflects their personal style—whether it’s a family photo, a picture of a beloved pet, or an original graphic design. The only limit is your imagination!
Stand out from the competition and offer your customers a unique phone personalization service.
zł749.99
Tax included
Product availability
Last remaining items
Delivery options
Learn more
High print quality
The Mietubl DIY printer uses dye-sublimation technology, which ensures exceptional print quality and durability.
Colors are intense, natural, and details are perfectly reproduced. Prints are characterized by high fade resistance, deep tonal range, and perfect sharpness – even after long periods of use.
Unlike inkjet printers, Mietubl DIY does not cause streaks or smudges.
Simple process, professional results
Operating the printer is extremely simple and intuitive – simply select a photo in the app, start printing, then laminate the foil with a matte protective layer and cut it using any foil cutter.
The entire process takes just a few minutes and requires no specialized skills.
The end result is a perfectly fitted protective foil that not only decorates but also protects the back of the device from scratches and minor damage.
New possibilities
Mietubl DIY is not just a printer – it's a new direction of development for GSM service points and shops.
With it, you can introduce a personalization service that will attract new customers and increase the attractiveness of your offer.
This solution combines modernity, creativity, and real profits, and it doesn't require large investments or material storage.
Personalization service
The Mietubl DIY printer is the perfect tool for GSM service points and shops dealing in phone accessories.
It allows you to offer your customers something more More than standard protection – full personalization, allowing everyone to have a unique, one-of-a-kind design for their device.
Instead of storing dozens of ready-made film designs, you can create them on the fly, precisely according to the customer's preferences. This modern solution attracts attention, increases profits, and allows you to stand out in the market.
User Manual
https://youtu.be/2Oqe_GJ9Iq
Kit Contents:
🔹Mietubl DIY Printer
🔹Power Supply
🔹Squeegee
🔹Roll with sublimation foil (36 prints)
🔹Photo paper (36 pcs)
🔹Matte laminating foil (36 pcs)
🔹Positioning mat for cutting
Technical specifications
| Resolution | 300 DPI |
| Print technology | Sublimation |
| Tension | 24V / 1.6A |
| Photo paper dimensions | 195 × 100 mm |
| Device dimensions | 125 × 205 × 86 mm |
| Machine weight | 1.4 kg |
| Number of prints on one roll | 36 pcs |
Why is it worth it?
The Mietubl DIY printer allows you to create unique, eye-catching foils that will delight every customer – without the need for large supplies.
With it, you can offer a personalization service that not only generates interest but also builds a positive brand image.
It's a combination of creativity, technology, and profit – perfect for any website that wants to keep up with the times.
CUSTOM PHONE BACK FILMS
Mietubl DIY Printer
Turn any photo or graphic into a unique phone back film and offer your customers a fully personalized service.
The compact Mietubl printer lets you print your own photos, graphics and designs onto films made for the back of smartphones. Easy smartphone-based operation makes it possible to create a personalized design in just a few simple steps — ideal for mobile phone repair shops, accessory stores and service businesses.
Any photo or design
Smartphone app control
INTUITIVE OPERATION
Your Photo, Just a Few Taps, and You're Done. Everything Controlled from Your Smartphone.
Mietubl DIY lets you create personalized prints directly from your smartphone. Simply choose a photo or graphic in the mobile app, prepare your design, and start printing. The intuitive interface makes it easy to get started without a computer or advanced graphic design software.
Convenient control via the mobile app
Your own photos, graphics and custom designs
Quick print preparation directly in the app
PRODUCT DEMONSTRATION
How to Get Started with Mietubl DIY
View the User Guide
From setting up your printer for the first time to creating your own custom print. Follow the step-by-step instructions below to prepare the printer, install the printing materials and configure the mobile app.

01
Connect and Power On the Printer
Connect the included power adapter to the socket on the back of the printer, then press the power button. Once the device starts, the indicator light will turn white, indicating that the printer is waiting for Wi-Fi network configuration.

02
Install the Dye Ribbon
Open the ribbon cartridge compartment and insert the dedicated dye ribbon. Make sure the cartridge is correctly positioned in its guides and securely seated. Then close the compartment.

03
Prepare the Printing Paper
Open the paper feeder cover and insert a sheet of the dedicated printing paper. Pay attention to the arrows indicating the correct orientation. Remove the protective layer according to the manufacturer's markings, then position the paper with the smooth side facing up.
Important:
The manufacturer recommends loading
only one sheet of paper at a time.

04
Install the Paper Feeder
Unfold the paper feeder support and rotate it downward by 180 degrees, following the device's design. Then insert the prepared feeder with the paper into the printer, making sure it is properly positioned and not tilted.

05
Install the App and Choose a Design
Download the Mietubl app using the QR code on the packaging. Open the app, select the appropriate phone back film template and prepare the photo or graphic you want to print.

06
Connect to the Printer and Start Printing
In the app, select the option to start printing. When connecting for the first time, add a new printer and quickly press the network button on the back of the device three times. Wait until the front indicator stops flashing, then enter your Wi-Fi network details in the app. Once configuration is complete, select your prepared design and start printing.
After printing:
The printed sheet can be processed
further and cut to the required
shape using a separate protective
film cutting plotter.
VIDEO TUTORIAL
See How the Mietubl DIY Printer Works
SMTBPHOTOP
1
Item
No customer reviews for the moment.
You need to be logged in or create an account to give your appreciation of a review.